> ## Documentation Index
> Fetch the complete documentation index at: https://docs.typewise.app/llms.txt
> Use this file to discover all available pages before exploring further.
# Simulator
> Simulate conversations and validate configuration
The [Simulator](https://platform.typewise.app/simulator) allows you to test AI
chat or email interactions. It has two tabs: the **Playground** for ad-hoc
manual conversations, and **[Tests](/documentation/testing-and-feedback/tests)**
for automated test scenarios with assertions and AI evaluation.
You can also use the simulator to test changes to your AI Agent's behavior,
knowledge, and actions before [publishing](/documentation/behavior/publishing)
them.
## How to Start a New Conversation
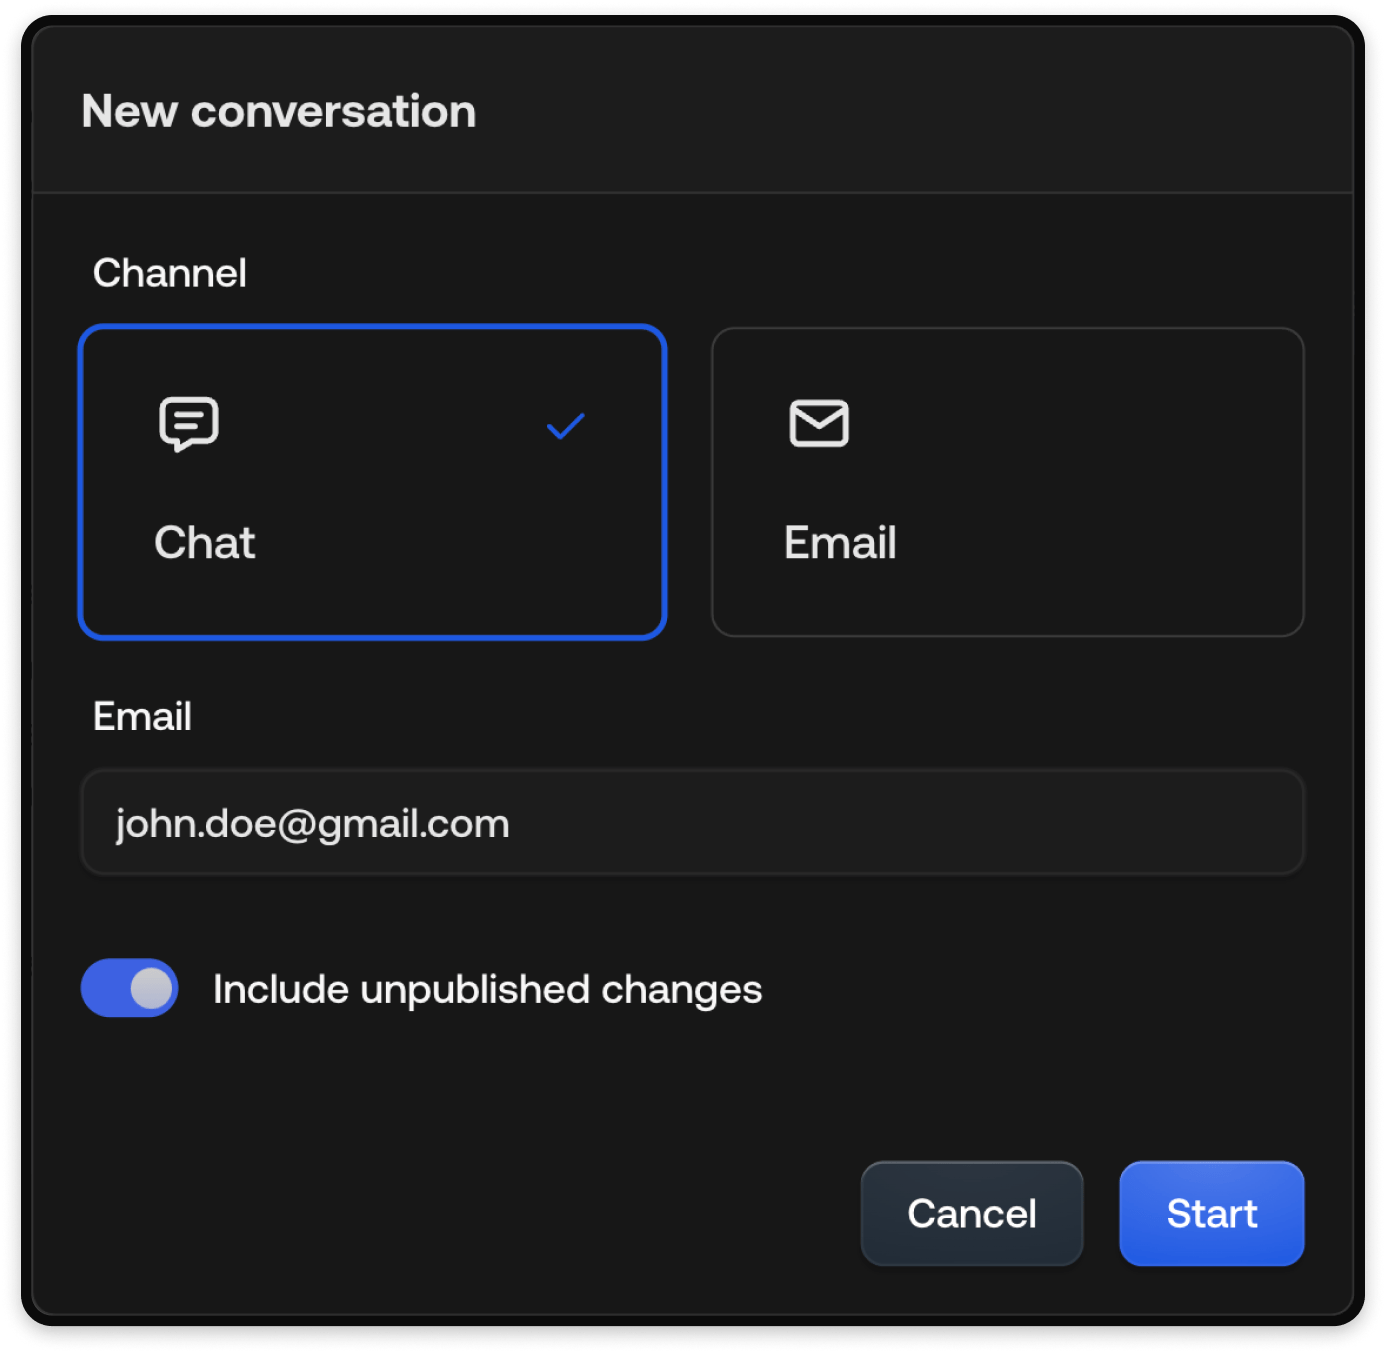
Click **+ New Conversation**.
You will see a pop-up window with two channel options:
* **Chat**
* **Email**
### Chat Channel
Select Chat as your channel.
Optionally, enter an email address if you want to link the chat to a
specific user.
Toggle the **Include unpublished changes** option to either test your
changes before publishing them or test the live configuration.
Click Start. You'll be redirected to the Playground, where you can test
real-time interactions between the AI and a user.
 ### Email Channel
Select Email as your channel.
Enter the recipient's email address.
Provide a Subject line.
Optionally, add CC Address.
Toggle the **Include unpublished changes** option to either test your
changes before publishing them or test the live configuration.
Click Start. You'll be redirected to the Playground, where you can send
and receive simulated email exchanges.
This feature is ideal for validating Specialist behavior and fine-tuning
instructions before going live.
### Email Channel
Select Email as your channel.
Enter the recipient's email address.
Provide a Subject line.
Optionally, add CC Address.
Toggle the **Include unpublished changes** option to either test your
changes before publishing them or test the live configuration.
Click Start. You'll be redirected to the Playground, where you can send
and receive simulated email exchanges.
This feature is ideal for validating Specialist behavior and fine-tuning
instructions before going live.
 ### Playground Interface
Once inside the Playground, you can:
* Send test messages as a user or agent.
* Observe how the Specialist responds to inputs.
* Test handoff conditions, response logic, and conversation flow.
Tickets created via the simulator will not be shown inside your inbox.
## See also
* [Automated Tests](/documentation/testing-and-feedback/tests): Create automated
test scenarios with assertions and evaluation
* [Specialists](/documentation/behavior/specialists): Create topic-specific AI
behavior
* [Knowledge](/documentation/knowledge/overview): Add knowledge sources for the
AI
* [Actions](/documentation/actions/overview): Configure automated and manual
actions
* [Publishing](/documentation/behavior/publishing): Publish changes to your AI
Agent's behavior, knowledge, and actions
### Playground Interface
Once inside the Playground, you can:
* Send test messages as a user or agent.
* Observe how the Specialist responds to inputs.
* Test handoff conditions, response logic, and conversation flow.
Tickets created via the simulator will not be shown inside your inbox.
## See also
* [Automated Tests](/documentation/testing-and-feedback/tests): Create automated
test scenarios with assertions and evaluation
* [Specialists](/documentation/behavior/specialists): Create topic-specific AI
behavior
* [Knowledge](/documentation/knowledge/overview): Add knowledge sources for the
AI
* [Actions](/documentation/actions/overview): Configure automated and manual
actions
* [Publishing](/documentation/behavior/publishing): Publish changes to your AI
Agent's behavior, knowledge, and actions