

How to Start a New Conversation
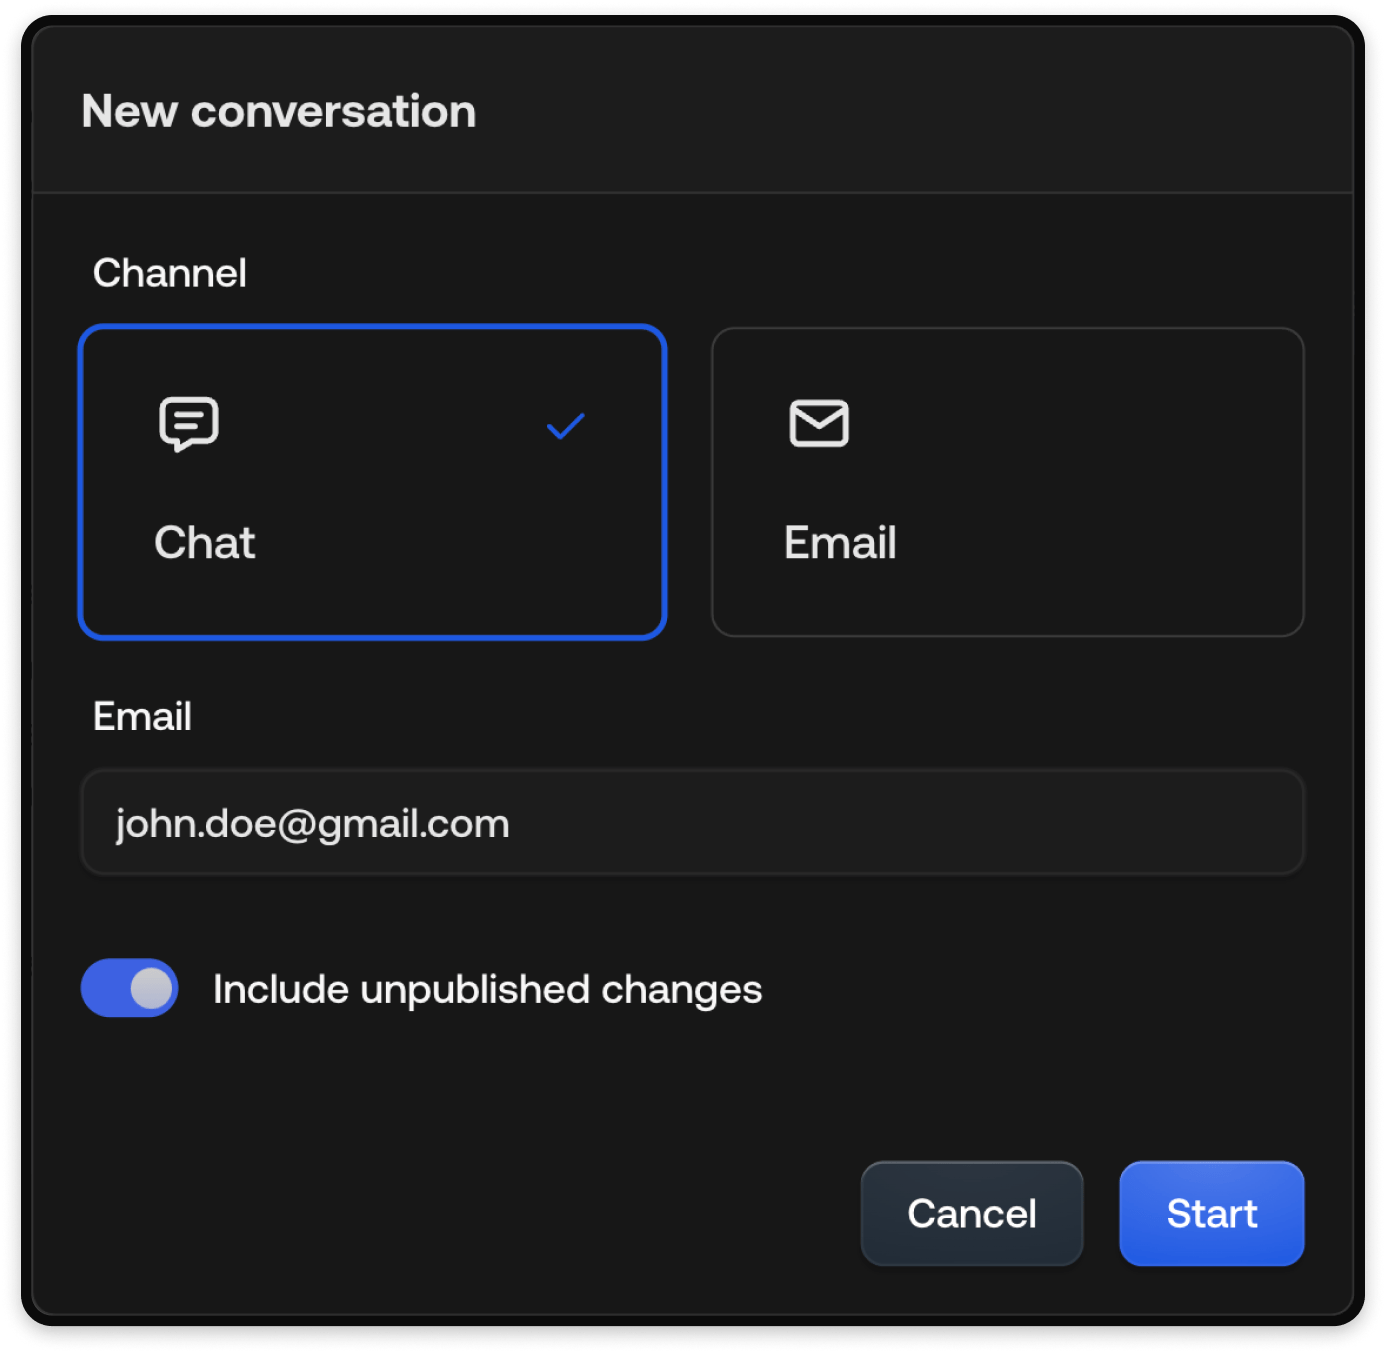
Click + New Conversation. You will see a pop-up window with two channel options:- Chat
Chat Channel
1
Select Chat
Select Chat as your channel.
2
Enter email (optional)
Optionally, enter an email address if you want to link the chat to a
specific user.
3
Include unpublished changes
Toggle the Include unpublished changes option to either test your
changes before publishing them or test the live configuration.
4
Start
Click Start. You’ll be redirected to the Playground, where you can test
real-time interactions between the AI and a user.
Email Channel
1
Select Email
Select Email as your channel.
2
Enter recipient
Enter the recipient’s email address.
3
Add subject
Provide a Subject line.
4
Add CC (optional)
Optionally, add CC Address.
5
Include unpublished changes
Toggle the Include unpublished changes option to either test your
changes before publishing them or test the live configuration.
6
Start
Click Start. You’ll be redirected to the Playground, where you can send
and receive simulated email exchanges.

Playground Interface
Once inside the Playground, you can:- Send test messages as a user or agent.
- Observe how the Specialist responds to inputs.
- Test handoff conditions, response logic, and conversation flow.
Tickets created via the simulator will not be shown inside your inbox.
See also
- Automated Tests: Create automated test scenarios with assertions and evaluation
- Specialists: Create topic-specific AI behavior
- Knowledge: Add knowledge sources for the AI
- Actions: Configure automated and manual actions
- Publishing: Publish changes to your AI Agent’s behavior, knowledge, and actions