

Haven’t set up email yet? Follow our email setup
guide to configure sending and receiving.
Guidance
Use the Guidance section to define how Typewise AI should behave during email interactions and under which conditions a human should take over.Channel Guidelines
Describe what Typewise AI should always do when managing email tickets. For example:- Greet the end customer politely and introduce itself.
- Ask for all required information at once to avoid a lot of back and forth.
- Use emojis sparingly, only when appropriate.
- Ask clarifying questions if the end customer’s request isn’t clear.
- Always summarize the resolution before closing the ticket.
Handoff Conditions
Define when the ticket should be handed over to a Human Agent. Common examples include:- The end customer expresses frustration or asks for a supervisor.
- Sensitive topics like billing, refunds, or legal concerns arise.
Automation
Fine-tune the automatic behavior inside the ticket with timing and review rules.- Automatically follow up after: Send a follow-up email after a specified number of minutes/hours/days without receiving a reply from the end customer. The timer starts after the last customer message. When triggered, Typewise AI generates a contextual follow-up email based on the conversation history, following your channel guidelines and company voice. For example, the AI might send something like: “Dear [Customer], we wanted to follow up on your recent inquiry regarding [topic]. Please let us know if you still need assistance or if there’s anything else we can help you with.” If auto-close is also enabled, the follow-up email may mention when the ticket will close due to inactivity. If “Require human review” is enabled, the follow-up email waits for approval before being sent.
- Automatically close tickets after: Automatically close email tickets after a specified number of minutes/hours/days without a reply from the end customer. The timer starts from the last customer message. When the timer expires, the ticket is automatically closed. If follow-up is enabled with a shorter timer, the follow-up email will be sent before the ticket closes.
- Require human review before sending a message: Enable this option if you want every AI-generated email to be reviewed by a human before being sent to the end customer. When enabled, all AI-generated emails (including follow-ups) go to a pending state. Human Agents see the drafted email in their inbox and can approve, edit, or reject it before sending. This provides oversight for sensitive or important conversations where you want tighter control over what the AI sends.
- Automatically unassign ticket on human agent reply: When enabled, a ticket is automatically unassigned as soon as a Human Agent sends a reply. The conversation timeline records that the assignee was removed automatically. Once the end customer replies, the ticket returns to the shared unassigned queue instead of staying in the original agent’s My tickets. This is useful for teams working in shifts or part-time: agents don’t have to remember to unassign themselves after every reply, so urgent customer responses don’t get stuck with someone who is offline. The setting is opt-in and disabled by default.
Email forwarding and workspaces
When your account has more than one workspace, each workspace gets its own unique forwarding email address. The address shown in channel settings always reflects the currently active workspace.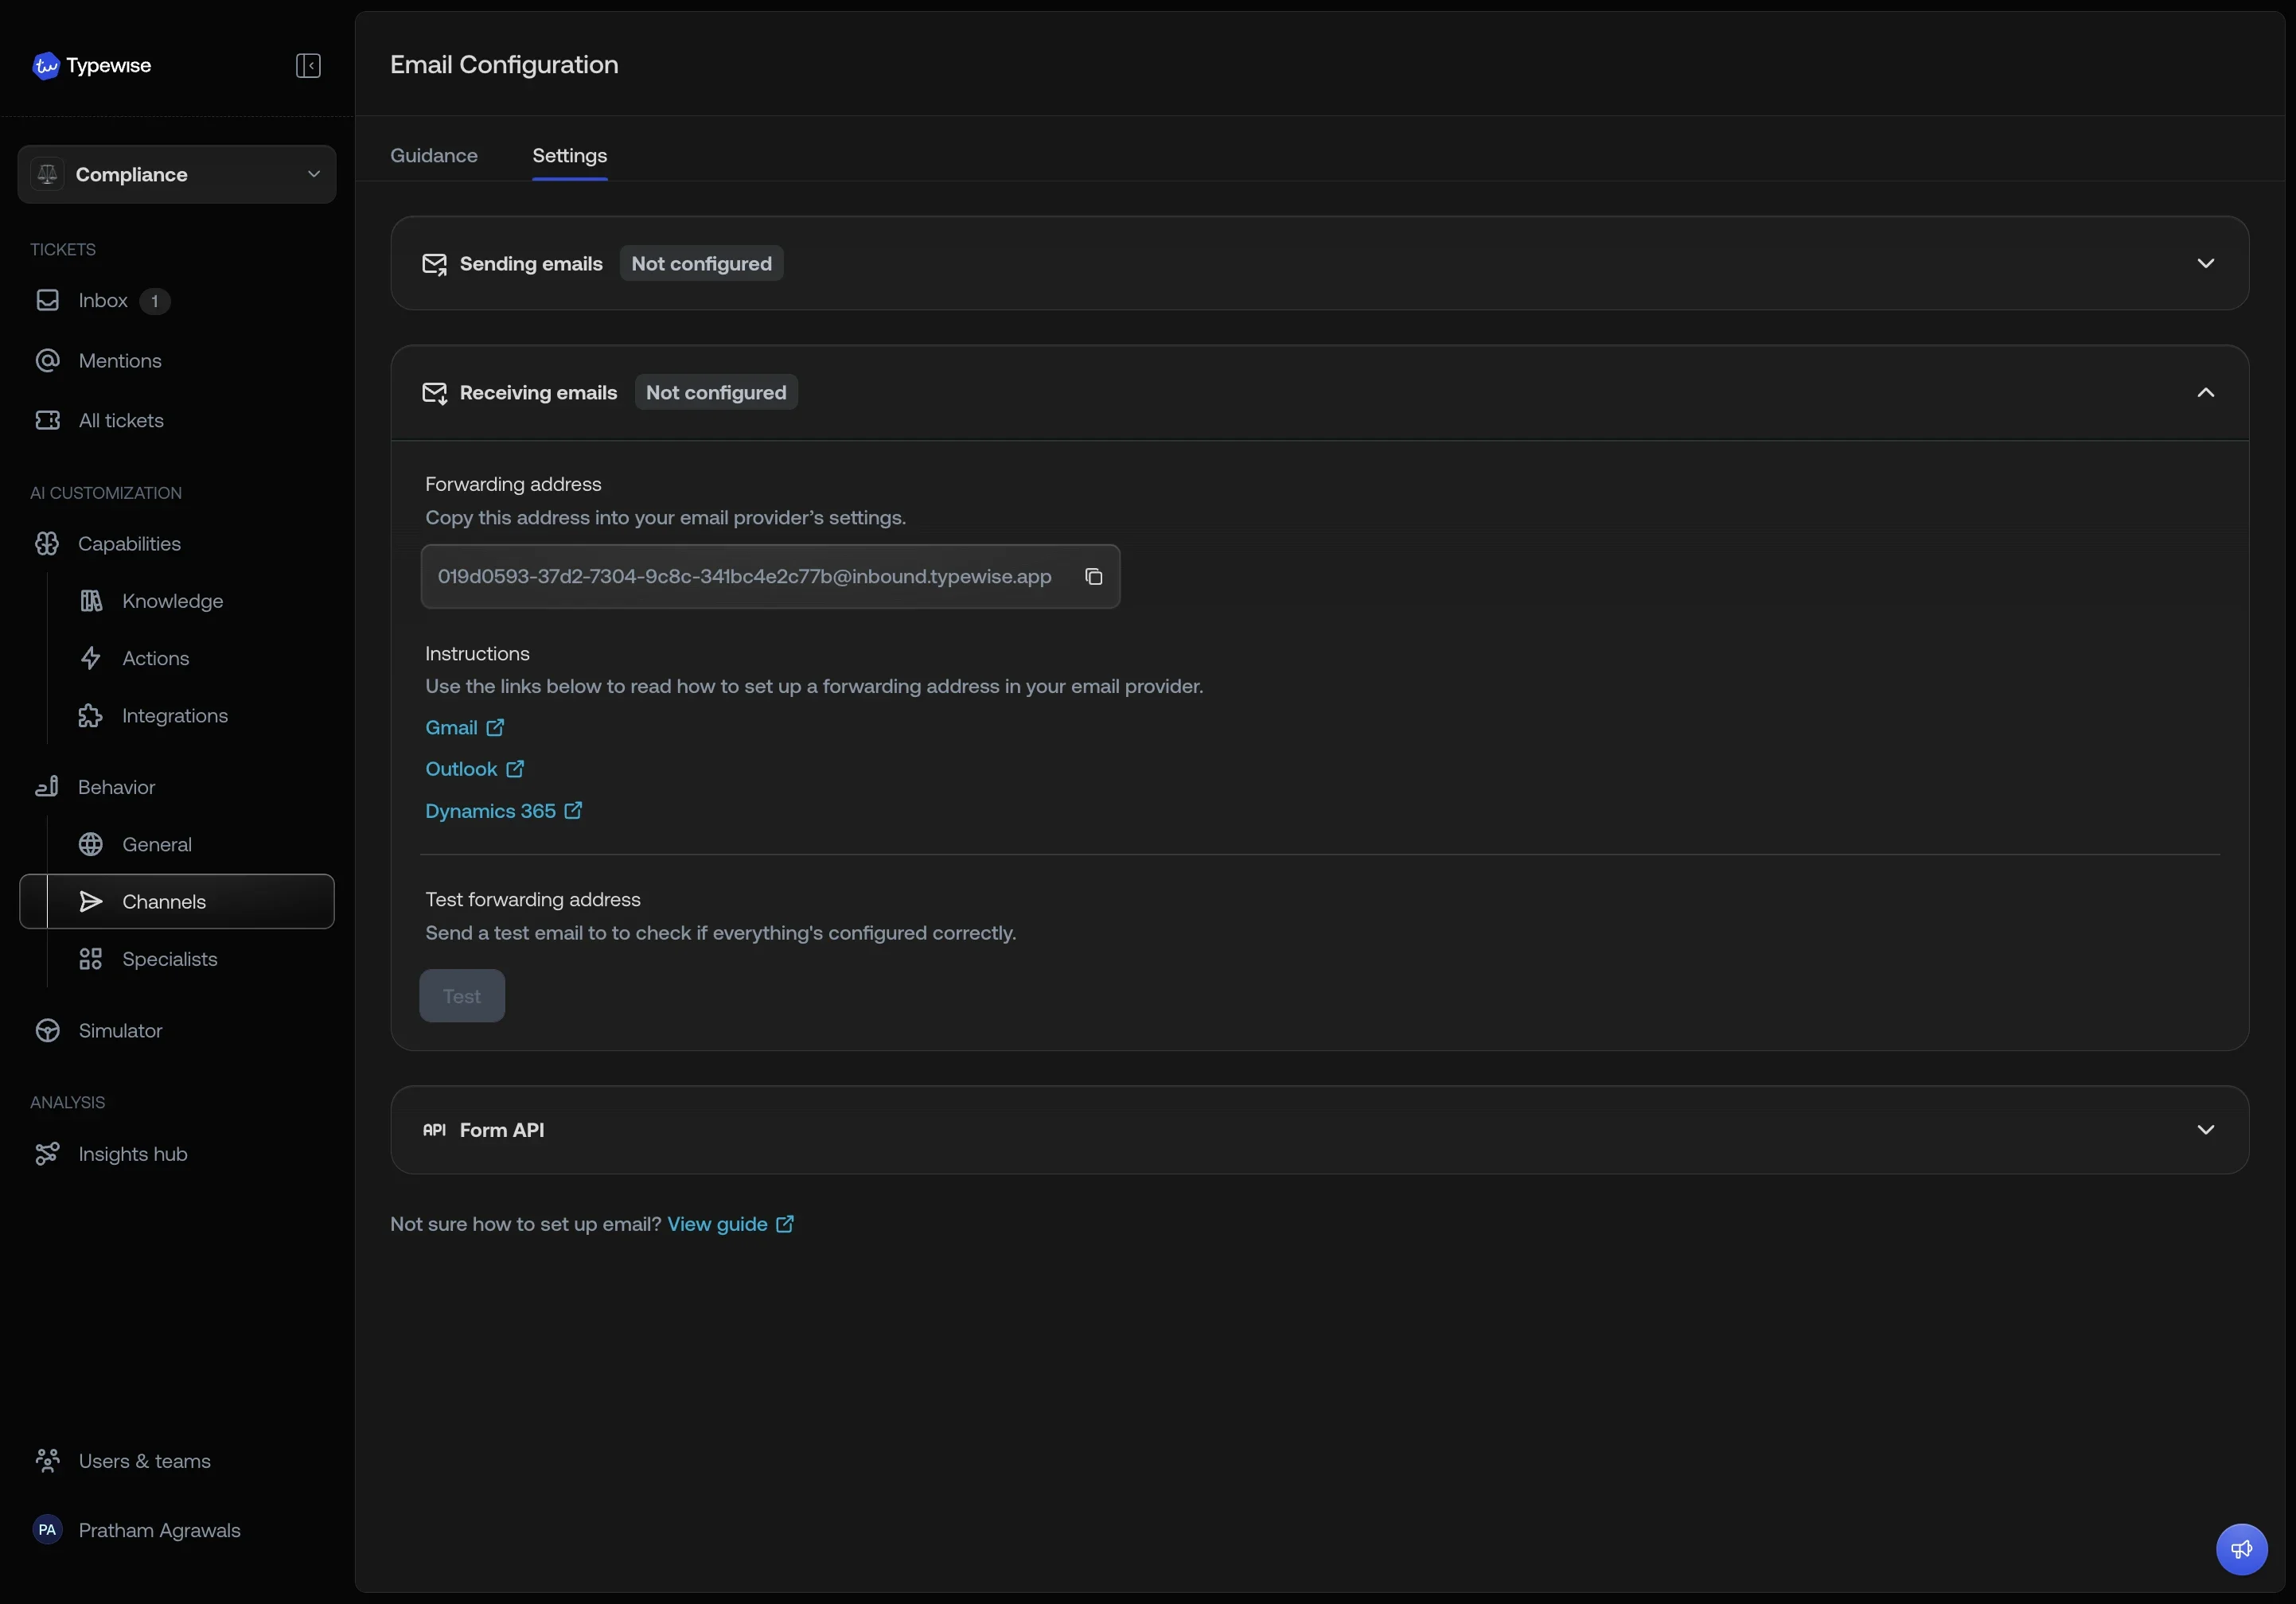
Signatures
Here you can configure a signature that automatically gets appended to all the emails that the end customer receives. You can configure separate signatures for both emails written by Human Agents, and emails generated by the AI Agent. We have default signatures defined for both types.Using Variables in Signatures
You can use pre-defined variables that are automatically replaced with their value when they’re applied. To insert a variable, type{{ to see a list of
available variables, and select one to insert it into the editor.
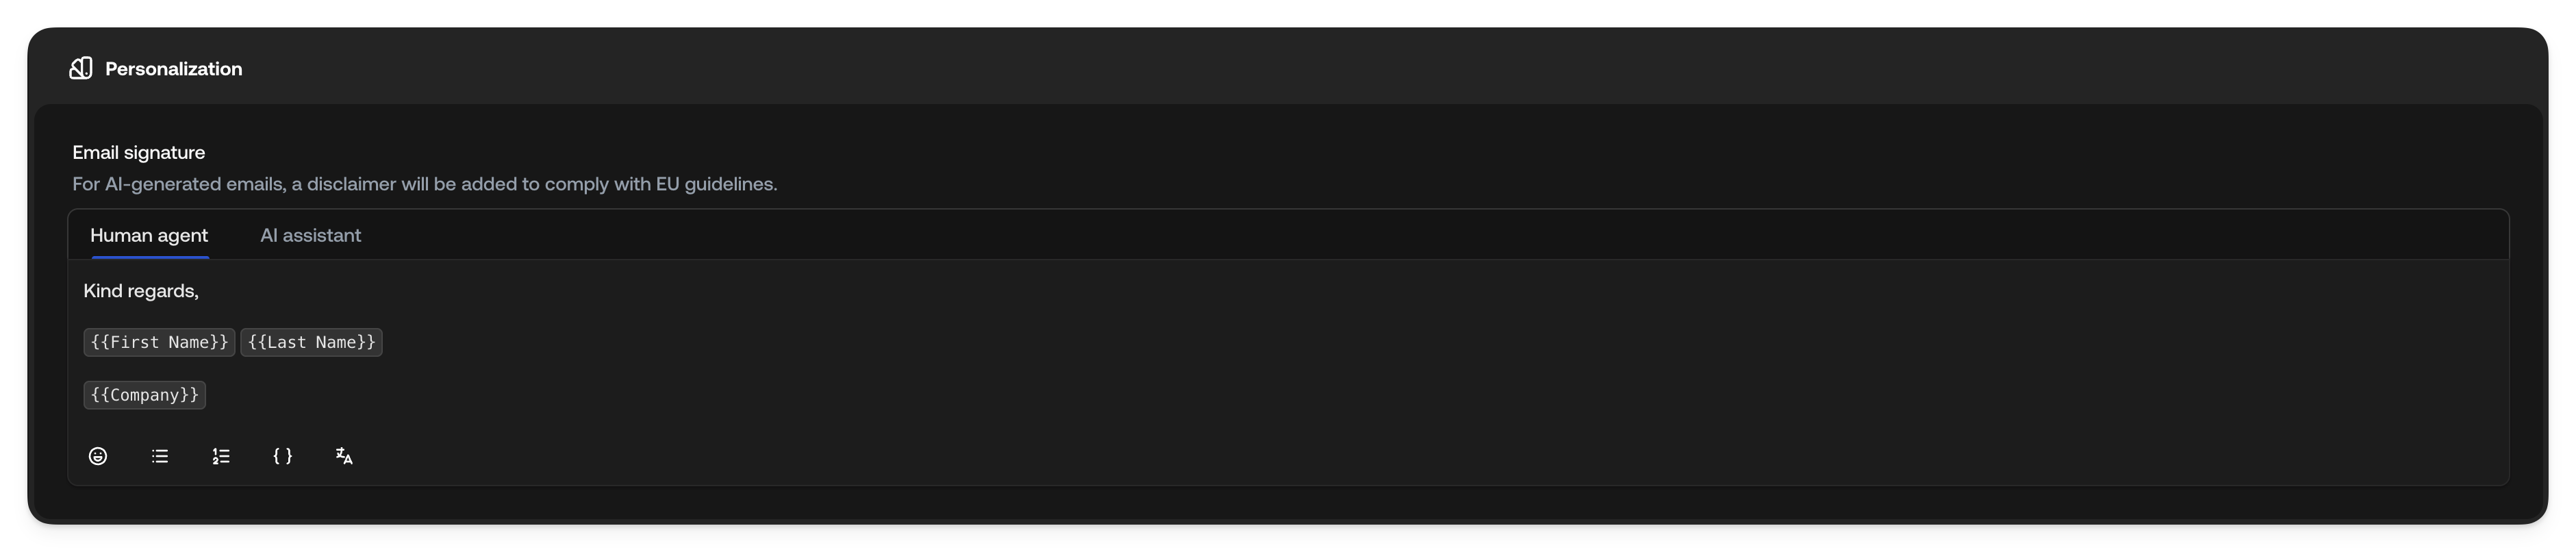
- First Name: The sending agent’s first name
- Last Name: The sending agent’s last name
- Avatar: The sending agent’s profile picture, inserted as an image
- Company: Your company name
- Workspace: The name of the workspace the message is sent from
- Every user property your organization has defined, listed by its name
Put each optional detail on its own line. A property an agent left empty
resolves to nothing, but anything you typed around it stays, so
{{ job_title }} | {{ department }} leaves a stray | for an agent who filled
in neither.Previewing a signature
The preview next to the editor shows the signature as a customer would receive it, with the variables filled in from your own profile. Switch between the Human agent and AI assistant tabs to preview each one. Since the preview uses your details, a colleague’s signature can look different: longer name, no photo, a job title you don’t have. Use it to check the layout, and keep in mind that empty values shift the result.Signature Translations
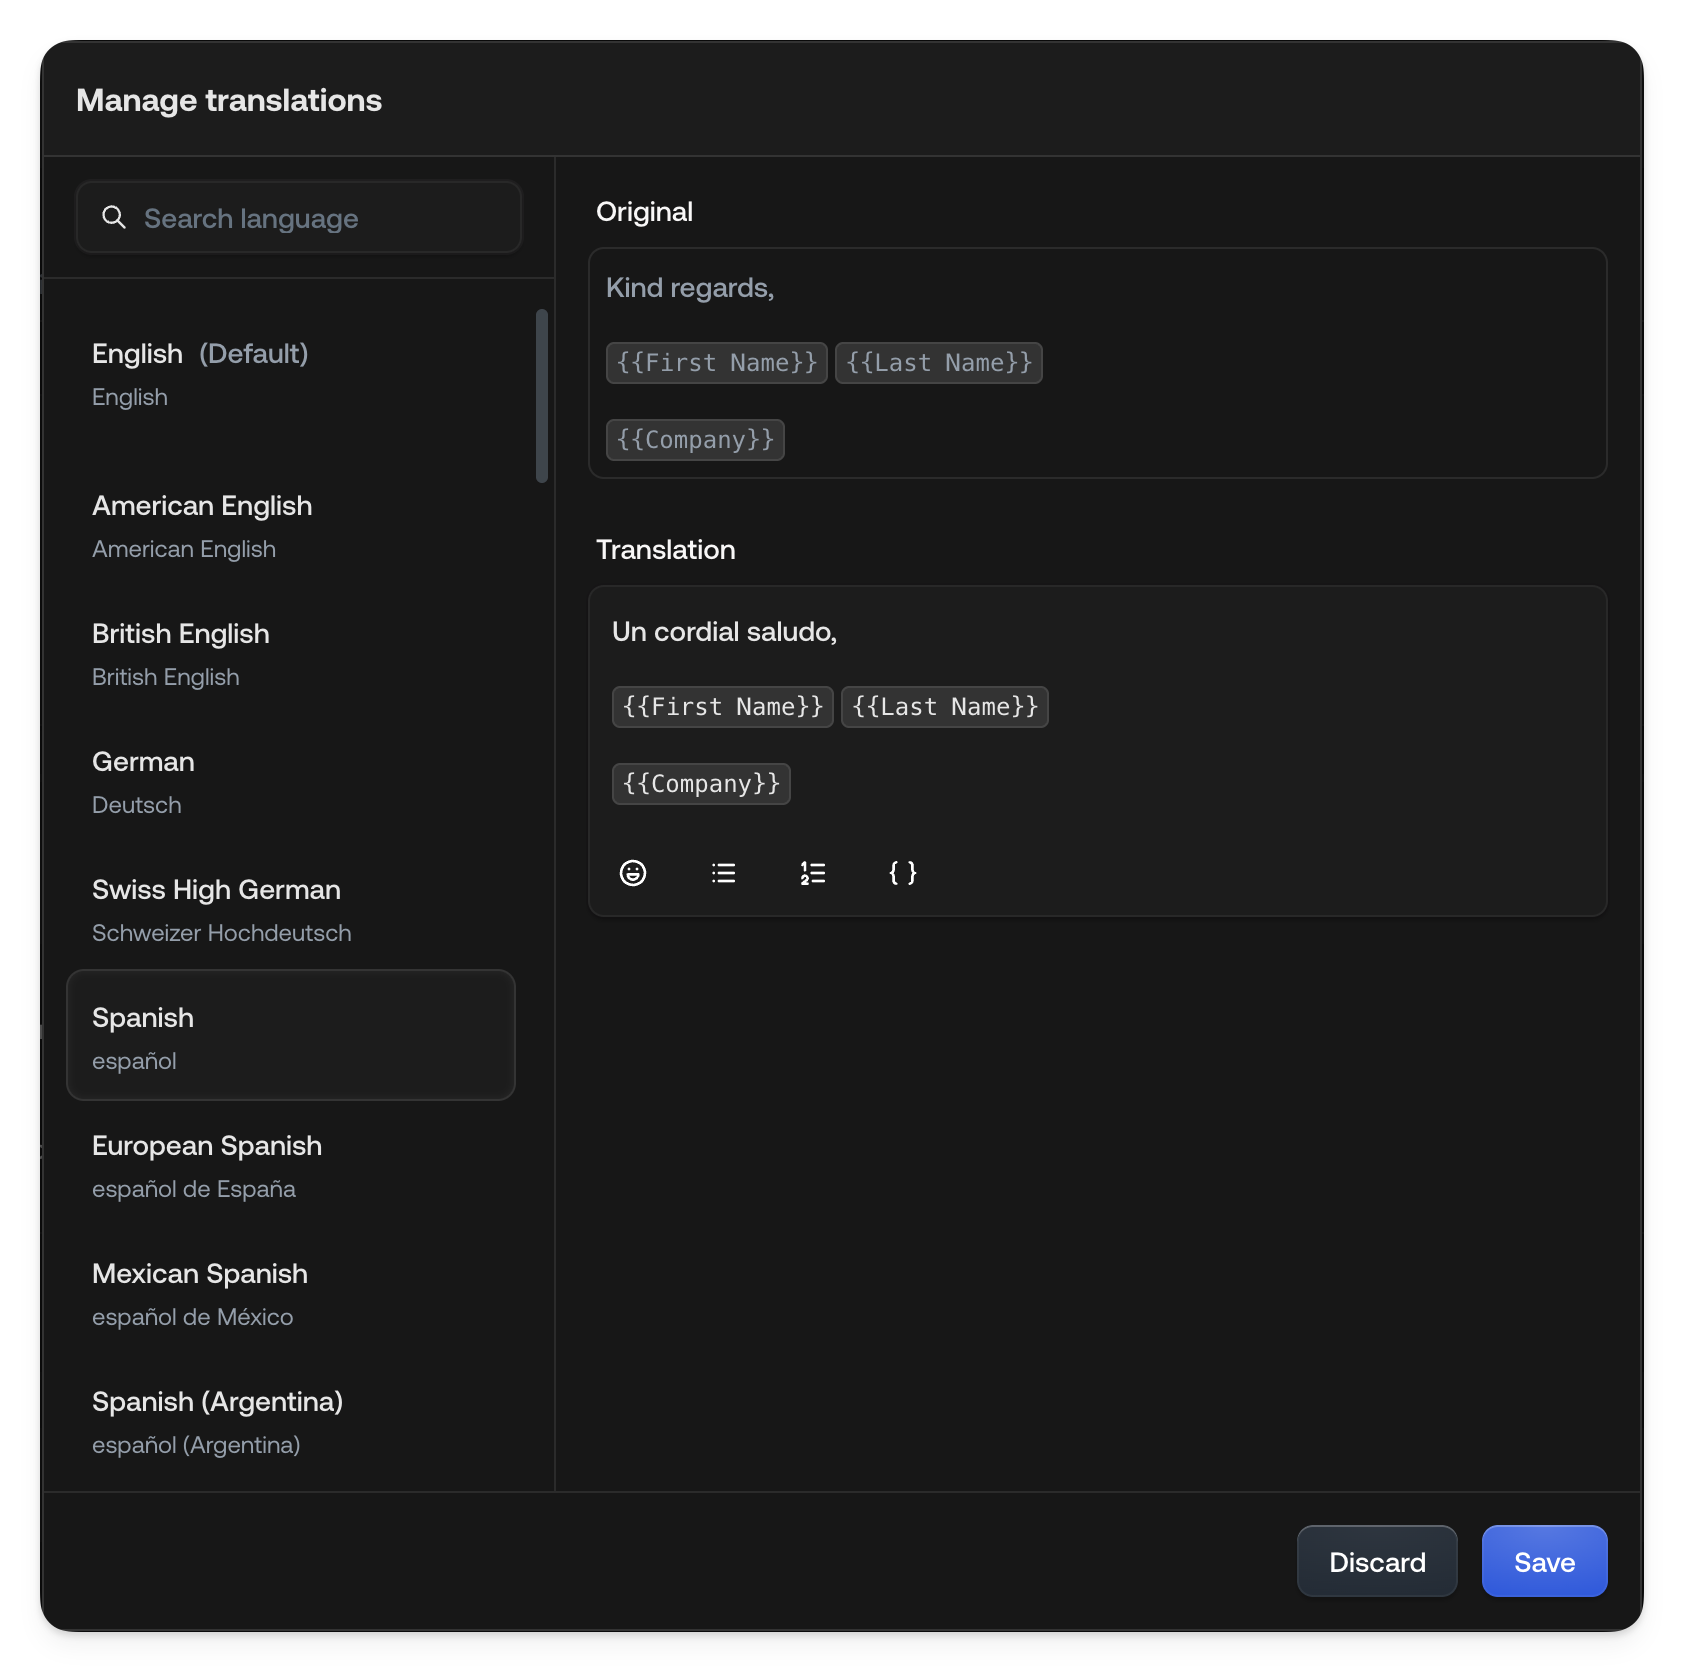
By default, all signatures are automatically translated to match the language of the email they’re attached to. You can view all the default translations by clicking on the translation icon (). However, sometimes you might want to override a translation for a particular language. To do so:1
Open the translation popup
Click on .
2
Select the language
Choose the language for which you want to override the translation.
3
Update the translation
Make your changes to the translation text.
4
Save your changes
Click save.
Translated user properties
A user property with Translate set to Yes is translated separately from the signature text, so each agent’s own value follows the customer’s language too. A job title stored as “Kundenberater” reaches an English-speaking customer in English. Because the value belongs to the agent, the override does as well: each agent corrects the translations of their own value from their profile, and the correction applies only to them. Properties with Translate set to No are inserted exactly as entered.Spam classification
Typewise automatically filters out spam, marketing mail, automated notifications, and out-of-office replies, so your team only sees real customer messages. Senders who already have an ongoing conversation with you skip filtering and always reach the inbox. The same check runs on tickets created through the Form API, so a contact form on your website follows the rules you set here. A submission that is clearly spam is closed before the AI Agent replies, and an uncertain one waits for a Human Agent to confirm.Customizing spam rules
Open the Spam classification section on the Email Guidance page to fine-tune what gets filtered. Write rules in plain language: allow trusted senders, block ones you never want to see, or describe categories of mail that matter (or don’t) for your business. Example rules:Your Company
description is also used
as context, so keeping it accurate helps Typewise tell legitimate partners and
industry-specific topics apart from generic bulk mail.
Reviewing filtered tickets
Filtered tickets stay accessible from All tickets. On a filtered ticket the conversation shows why it was filtered, with a Configure link that jumps to the Spam classification settings so you can add a rule for next time. If a real customer message was filtered by mistake, use Mark as relevant on the message. The ticket reopens and processing resumes.Customer Satisfaction (CSAT)
Here you can configure customer satisfaction surveys. Once enabled, the survey is automatically sent after a ticket is closed. This allows the end customer to submit qualitative and quantitative feedback.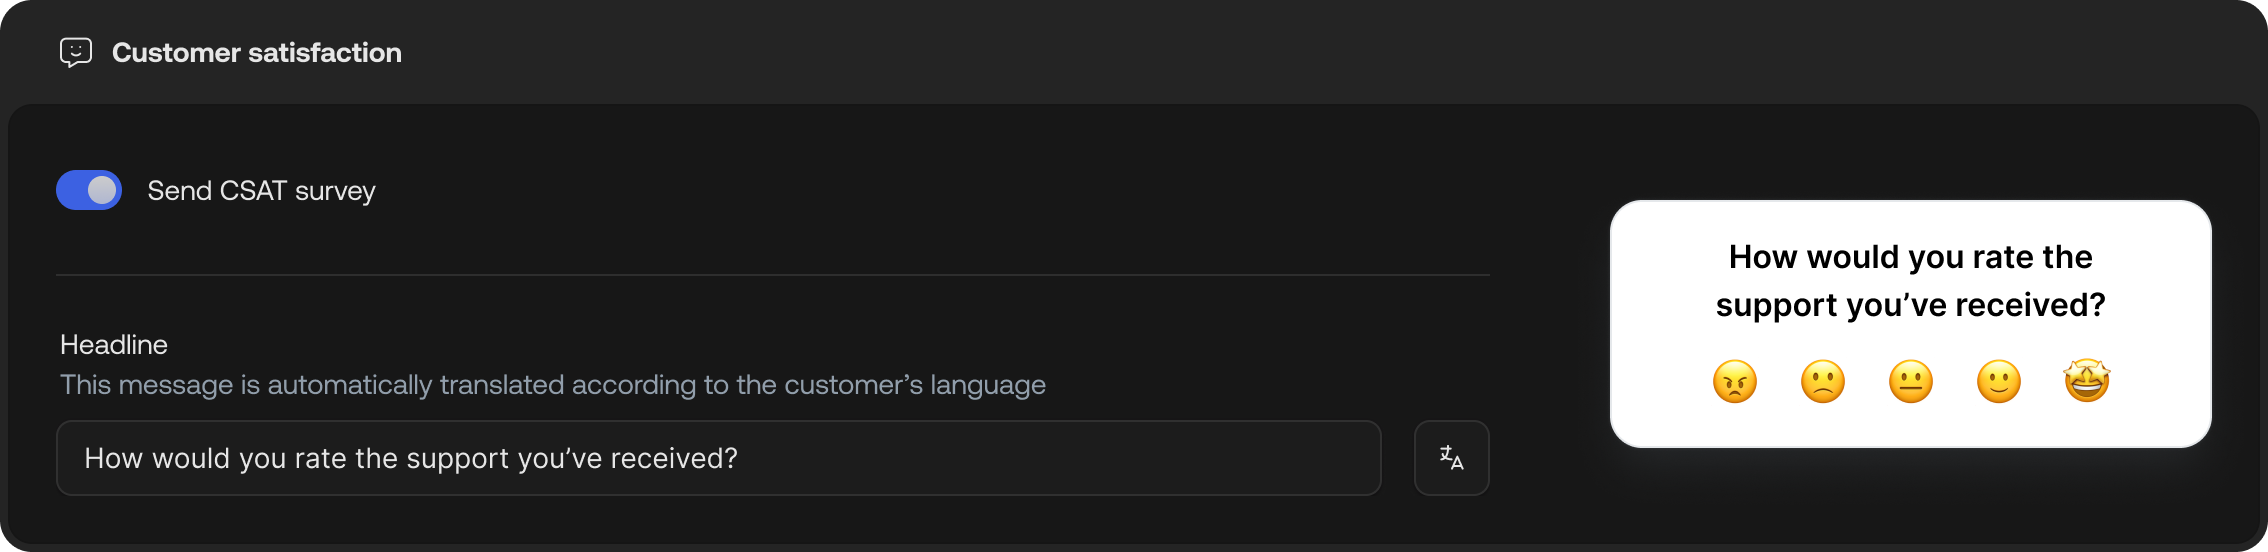
- Send CSAT survey
You can enable/disable the CSAT survey. If enabled, the survey is sent to the end customer 24 hours after a ticket is closed. - Headline
The message that’s sent in the email asking the end customer for feedback. The headline is translated automatically to the language detected in the ticket. You can override the translations by clicking on the icon.
Satisfaction feedback submitted by end customers is never visible to agents
working on the platform, and is only visible to administrators inside the
Insights Hub.
See also
- Chat Configuration: Configure chat channel behavior
- Specialists: Create topic-specific AI behavior
- Company configuration: Set global guidelines and the company description used by the spam classifier
- Context Variables: How
user_emailis auto-populated from the email sender after proof of receipt - Ticket conversation: How spam decisions and the “Mark as relevant” action appear in the timeline