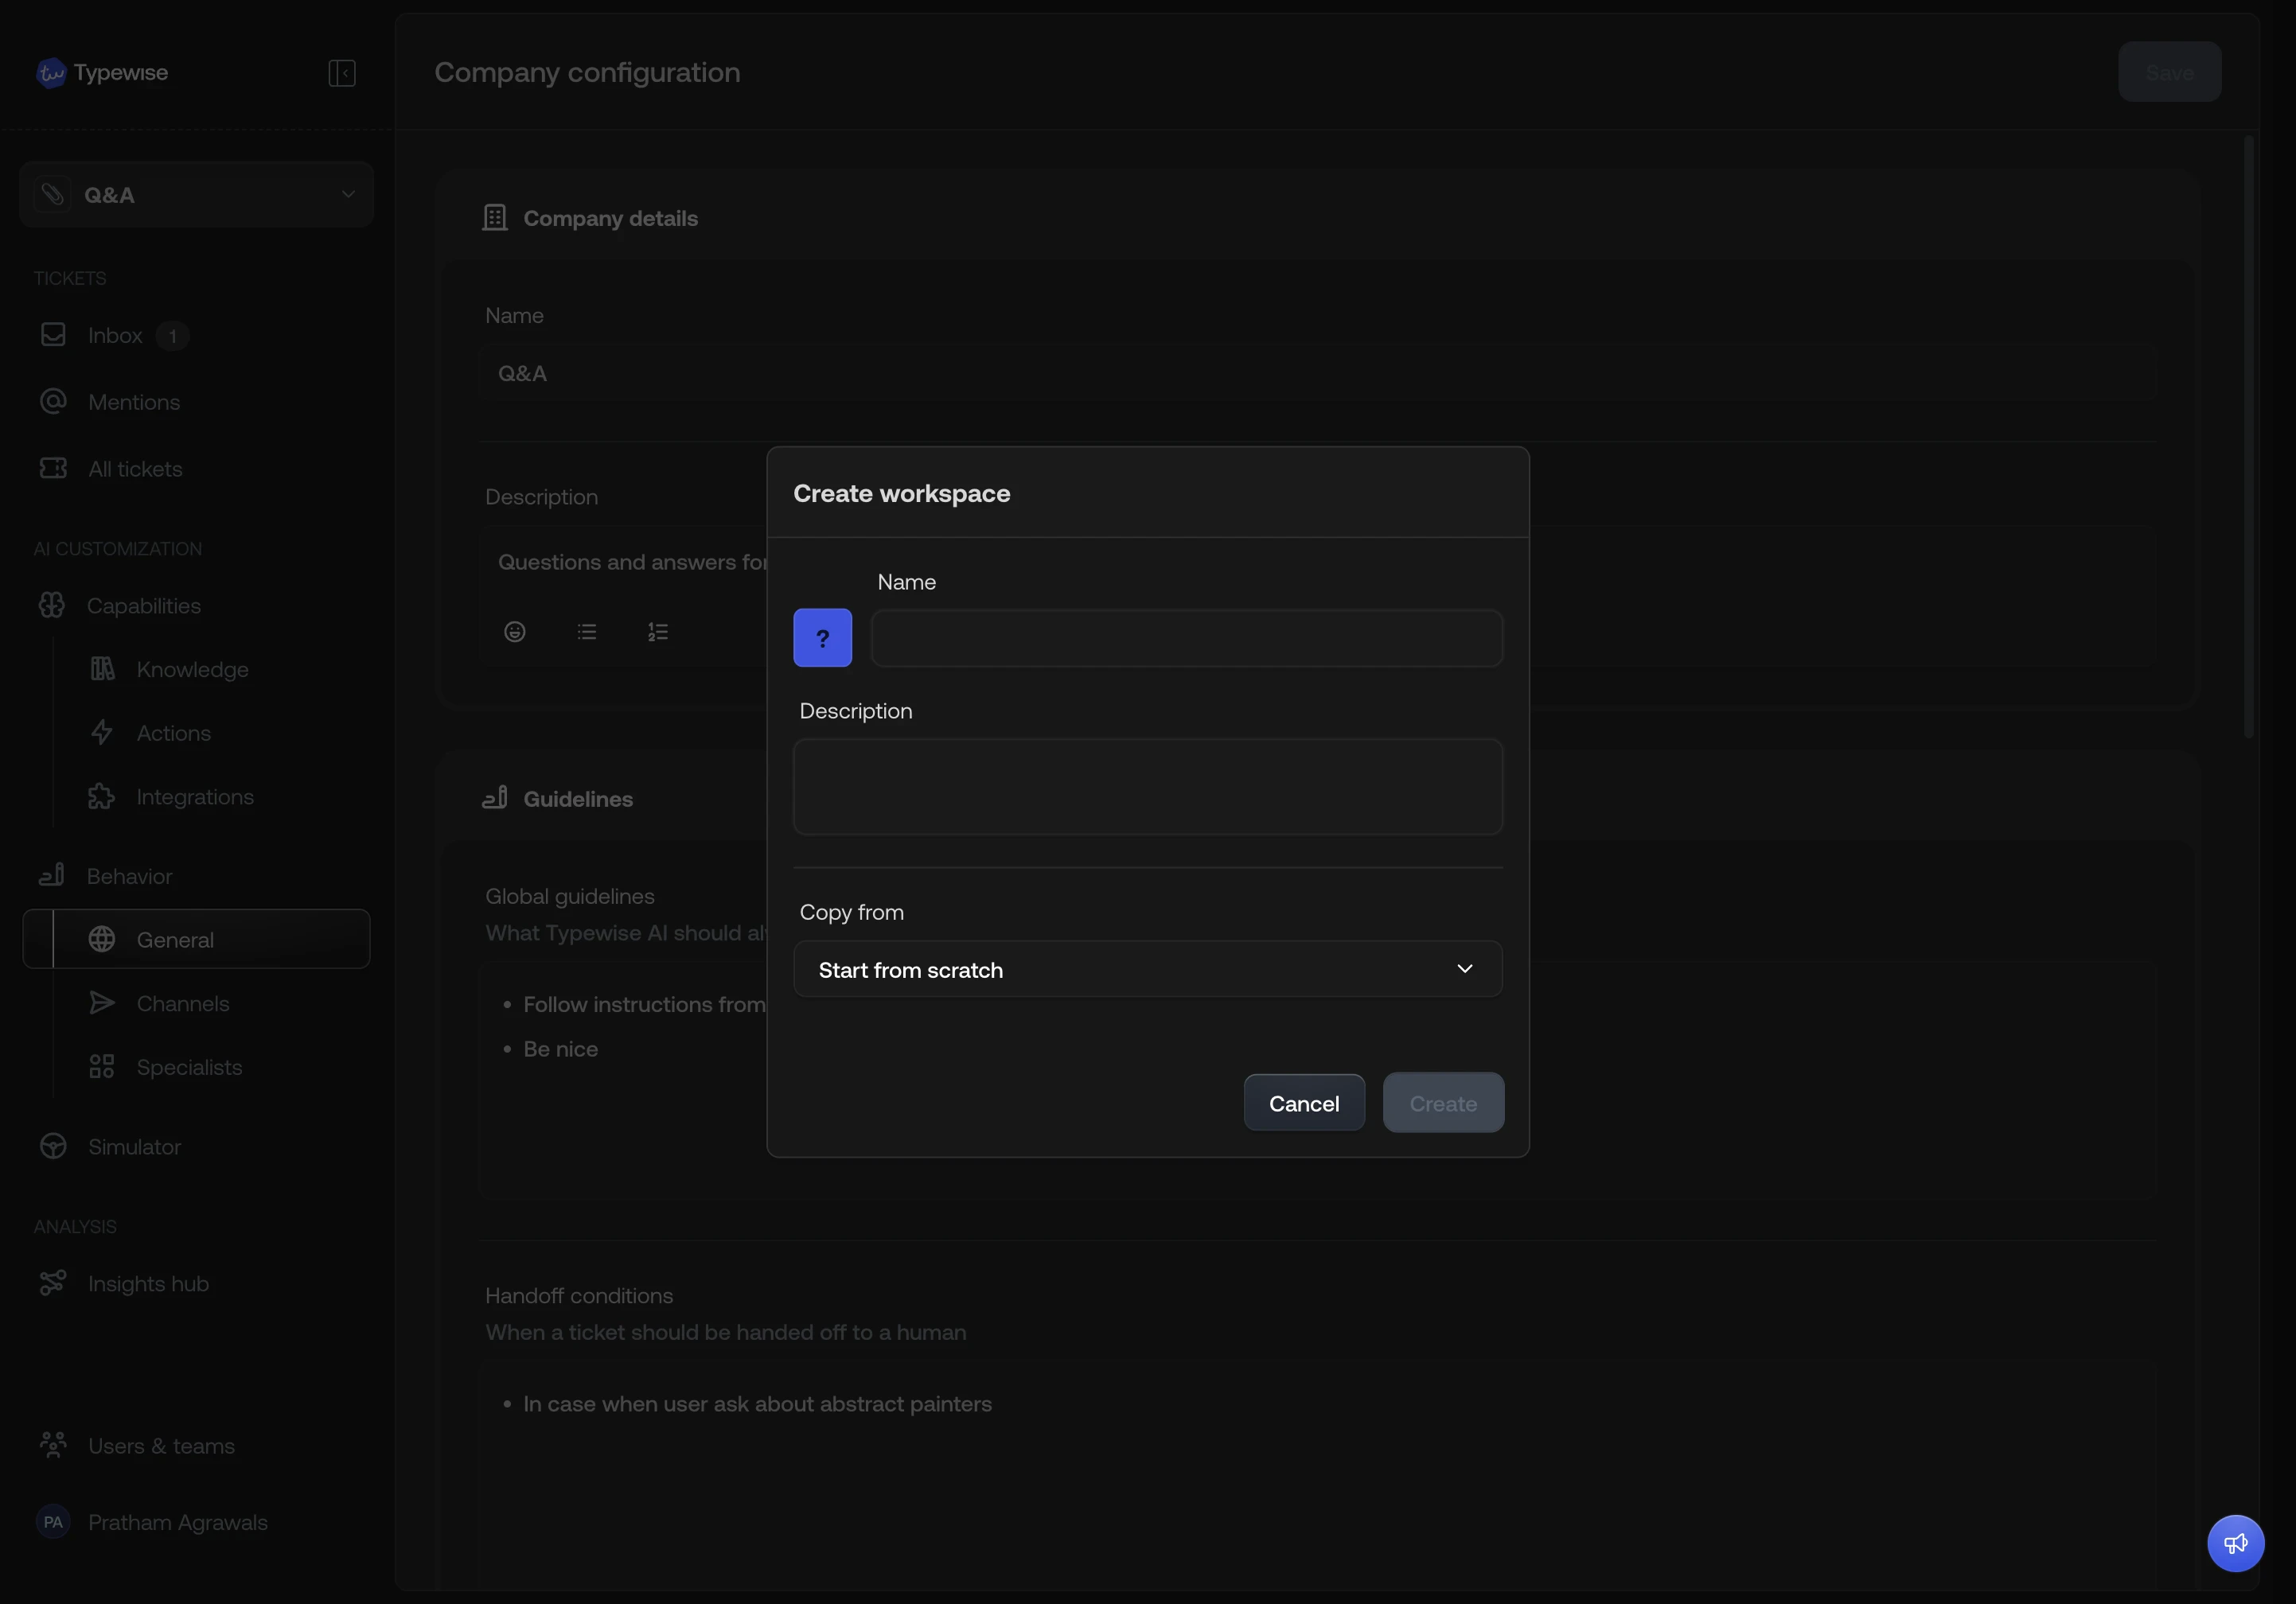
Start from scratch
Open the workspace selector
Click the workspace selector in the sidebar and select Create workspace.
Choose an avatar
Pick an avatar for the workspace. You can choose from three types:
- Color: 8 preset colors.
- Emoji: any emoji.
- Logo: upload a custom image.
Create
Click Create. The workspace is created empty with default behaviour
settings. You can then configure it from the
workspace settings or by
importing resources from
another workspace.
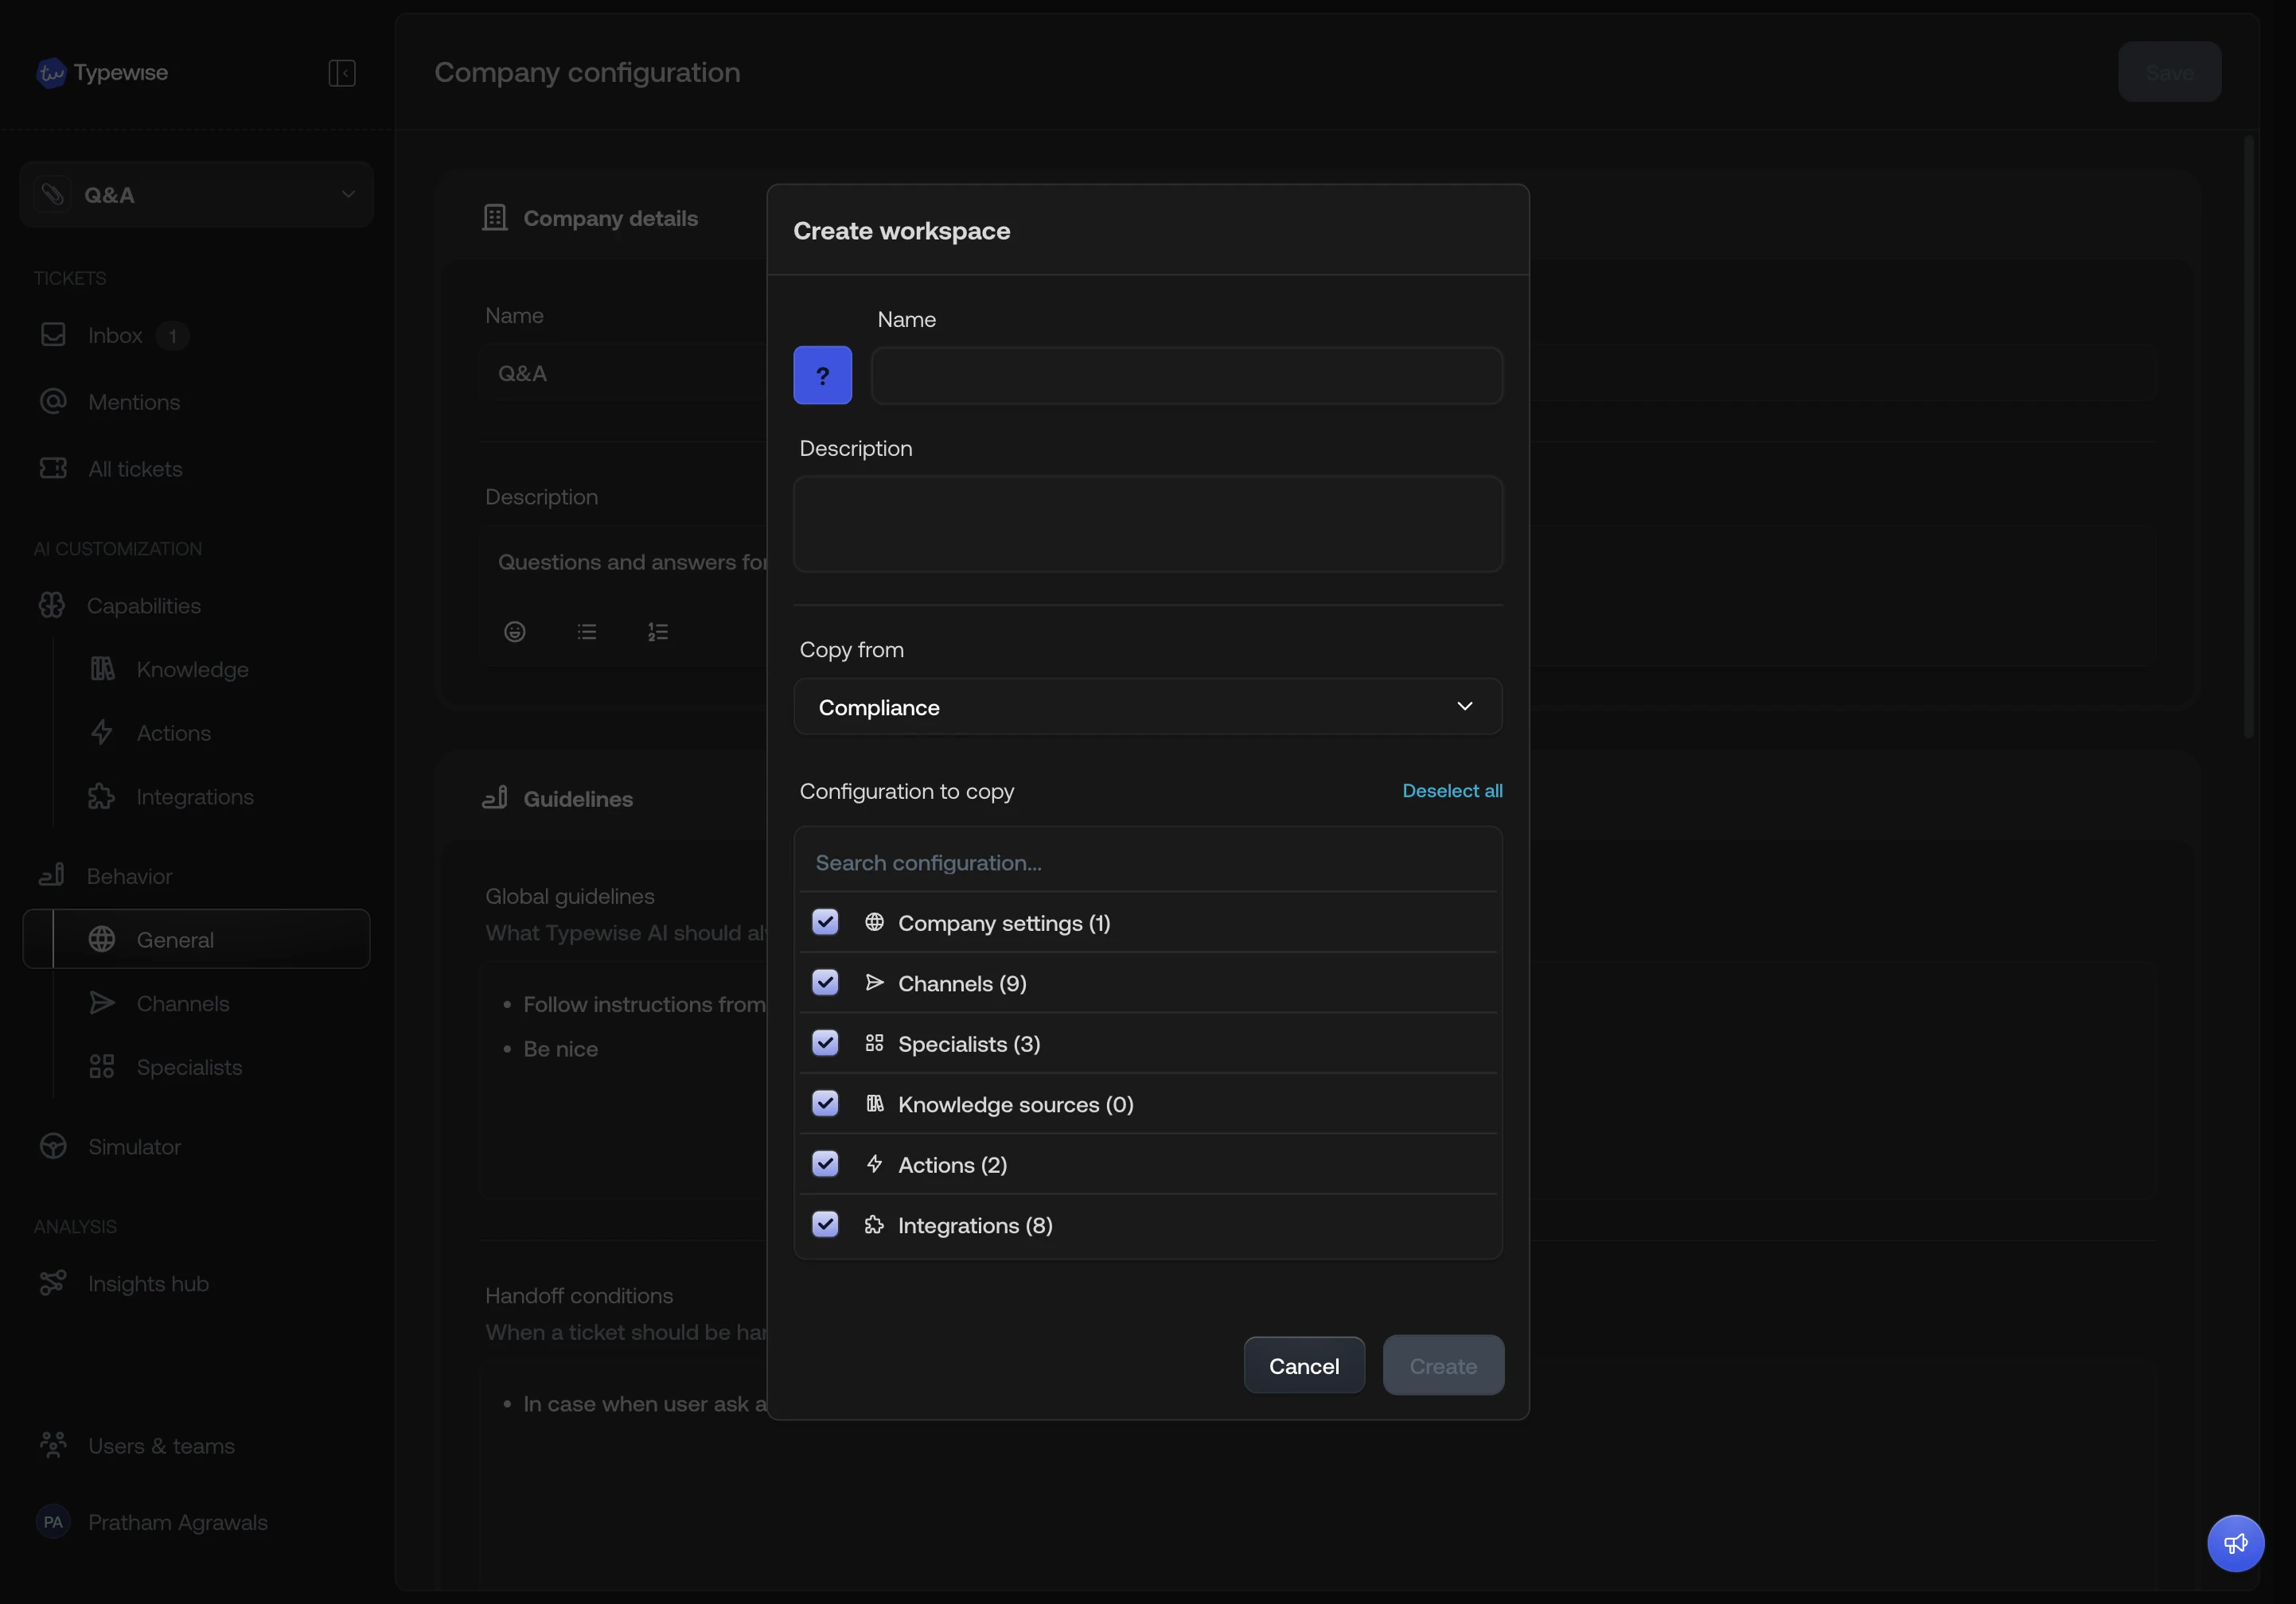
Clone from an existing workspace
Cloning copies selected configuration from a source workspace into a new one.Open the workspace selector
Click the workspace selector in the sidebar and select Create workspace.
Set a name, description, and avatar
Enter a workspace name, optional description, and pick an avatar.
Choose what to copy
A checklist appears with the following configuration types:
- Company settings
- Channels
- Specialists
- Knowledge sources
- Actions
- Integrations
Review dependency warnings
If your selection creates a dependency gap, a warning appears. For example:
- Copying specialists but not actions or knowledge: if those specialists reference actions or knowledge sources, the warning tells you how many extra items will be imported automatically.
- Copying actions or knowledge but not integrations: if those items use integrations, the warning tells you how many integrations will be imported automatically.
Dependencies are always resolved to keep the workspace consistent. If a
specialist references an action that is not in your selection, that action is
imported along with it.
See also
- Import resources: Copy individual resources between workspaces after creation
- Workspace settings: Edit workspace name, avatar, and Context Variables
- Workspaces overview: Understand what is isolated vs shared